An Area is a geographic polygon that COS Business Engine Users can assign to different Groups. A Group will assign a "status" to an Area which will designate if an Area on your map is serviceable and ready for new Customers or if it is simply in a sign up phase for gauging serviceability demand, for example. This guide will go over the steps needed to manually create an Area in COS Business Engine and how to import a polygon Area.
Solution Overview
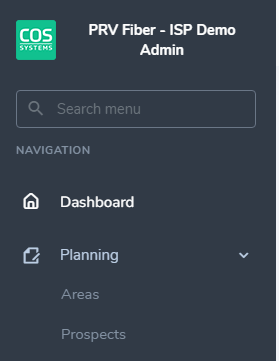
To begin the process of creating an Area manually, navigate to the "Planning" menu on the COS Business Engine Dashboard and select the option of "Areas". 
Once on the Areas menu Users will be able to select the blue "+" icon to create a new Area. Here you will input important information for the creation of your new Area such as the planned date of Area activation and the Group it will belong to. Please note that specific Area can only belong to one Group at a time.
As seen above, users will be able to manually draw a polygon by clicking points along the map found at the bottom of the New Area screen. This will allow users to create an area by hand within COS Business Engine in an efficient manner.
Alternatively, Users will be able to copy and paste in geospatial data from a KML or WKT file extension to avoid having to manually draw an Area over the map. Once a User has manually drawn a new Area or input the relevant geospatial data, they will click the blue "save" icon to confirm the new Area.
Step by Step Instructions
How to Create an Area